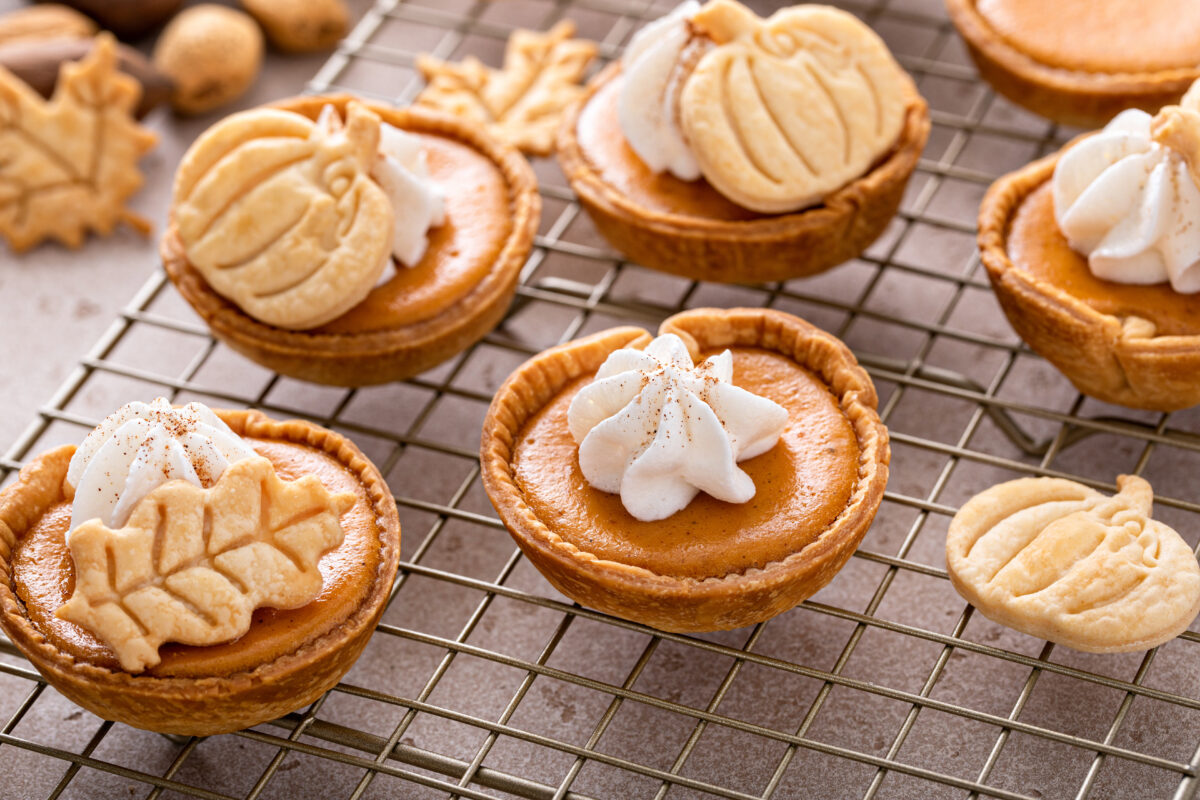
There’s something extra special about desserts that come in their own little individual servings, and these Mini Pumpkin Pies are almost too cute to eat! With a buttery, flaky pie crust, creamy pumpkin filling, fluffy maple whipped cream, and adorable fall-shaped pie crust decorations, they’re the perfect little treat for Thanksgiving or any fall gathering.
Why You’ll Love These Mini Pumpkin Pies
These individual pumpkin pies have all the cozy flavors of traditional pumpkin pie, but they’re baked in a muffin tin for perfectly portioned treats. They’re easy to make, fun to decorate, and just the right size for little hands.
And the best part? You can make them ahead of time, leaving one less thing to worry about on Thanksgiving Day!
- Perfectly portioned: Individual pies are easy to serve, with no slicing required!
- Made with real pumpkin: Pumpkin puree adds creamy texture, fiber, and vitamin A.
- Naturally sweetened: Pure maple syrup gives the pumpkin filling a delicious sweetness that complements the warm spices.
- Kid-friendly: Kids will love helping cut out the adorable fall-shaped pie crust decorations.
- Great for entertaining: These mini pies look beautiful on a Thanksgiving dessert table.
- Make-ahead friendly: Bake them a day or two in advance and add the whipped cream just before serving.
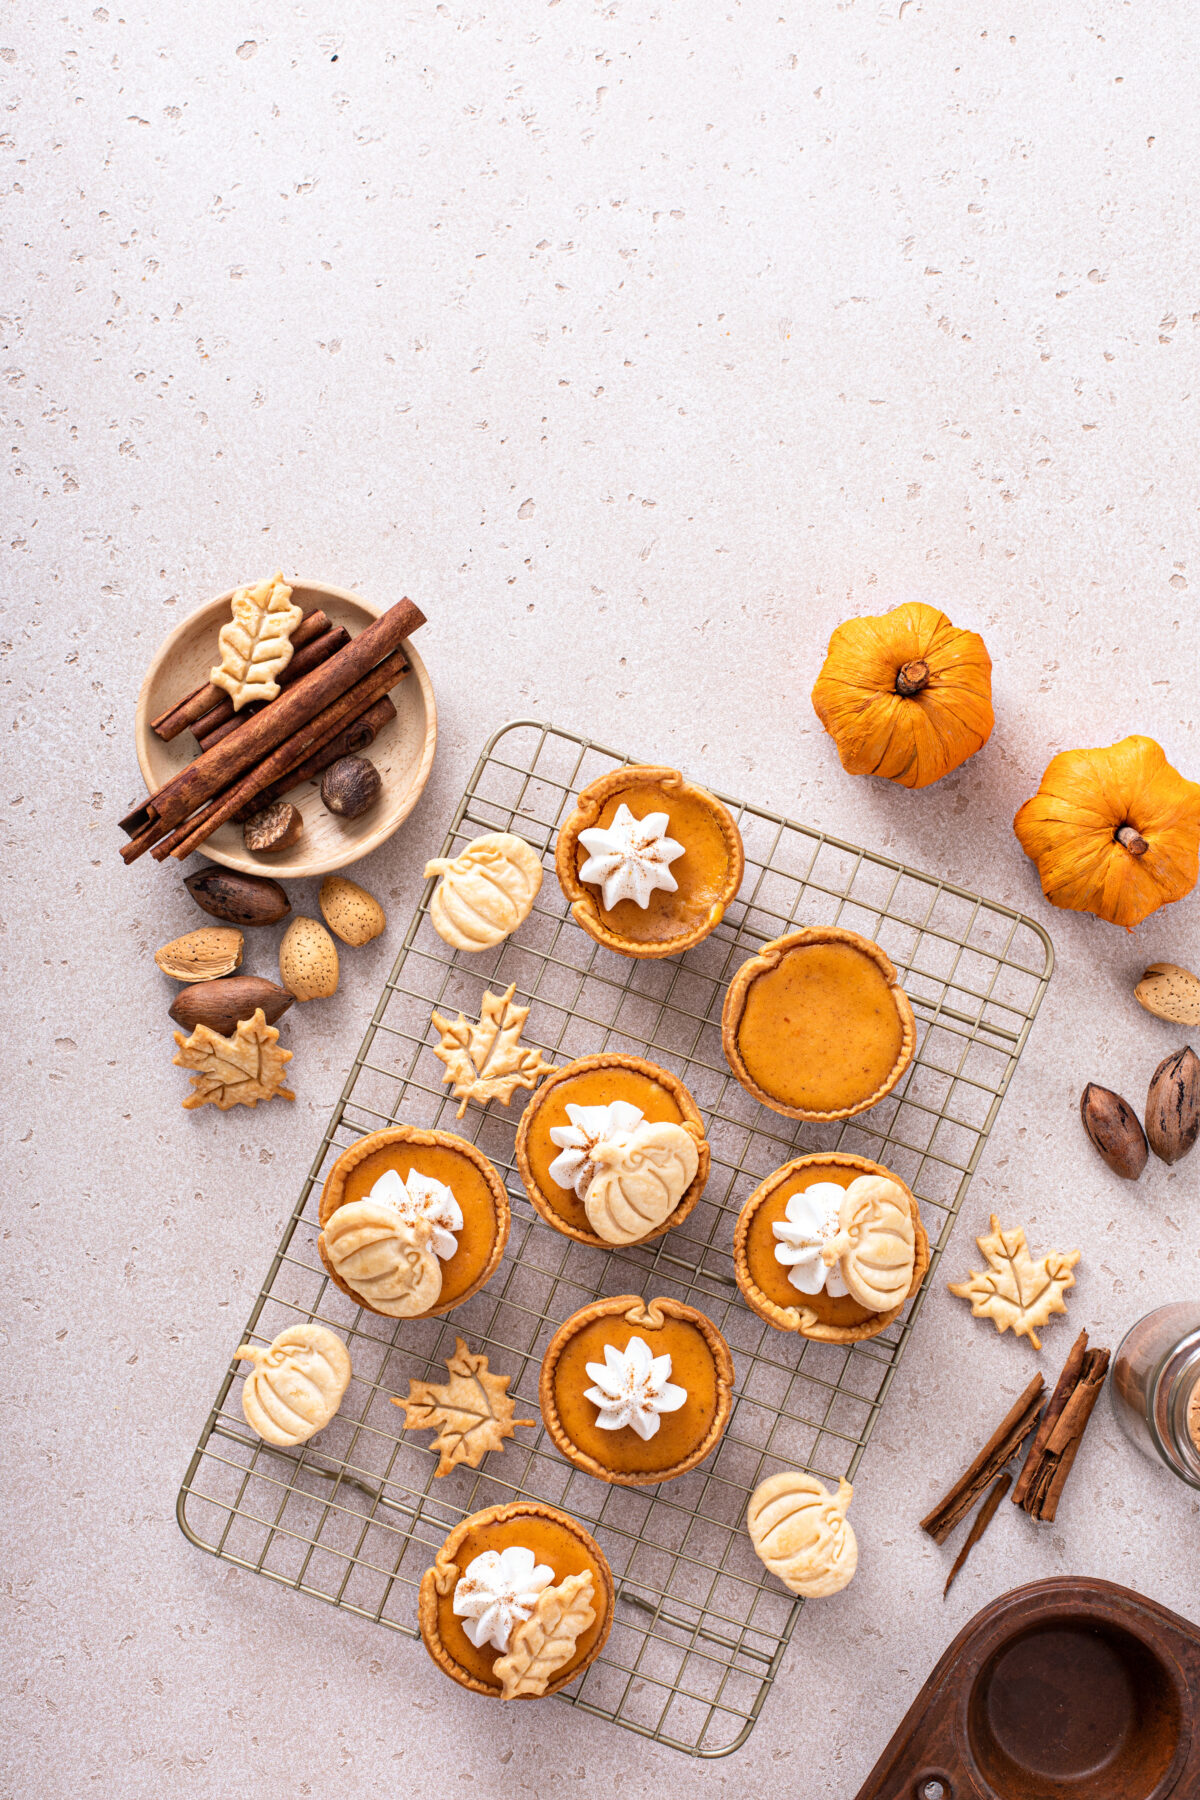
Ingredients for Mini Pumpkin Pies
You only need a handful of simple ingredients to create these delicious little Thanksgiving desserts.
For the Mini Pumpkin Pies
- Pie Crust: Store-bought refrigerated pie crust makes this recipe quick and easy, but homemade crust works beautifully too. You’ll need enough dough for 12 mini pie shells and decorative cutouts.
- Pumpkin Puree: Be sure to use 100% pure pumpkin puree, not pumpkin pie filling.
- Maple Syrup: Adds natural sweetness and a subtle maple flavor that pairs perfectly with pumpkin.
- Eggs: Help the pumpkin filling set into a smooth, creamy custard.
- Whole Milk: Gives the filling a silky, creamy texture.
- Pumpkin Pie Spice: A cozy blend of cinnamon, ginger, nutmeg, and cloves brings all those classic fall flavors.
- Vanilla Extract: Adds warmth and rounds out the flavor.
- Salt: Balances the sweetness and enhances the pumpkin flavor.
For the Maple Whipped Cream
- Heavy Whipping Cream: Creates a light, fluffy topping.
- Pure Maple Syrup: Sweetens the whipped cream with a delicious maple flavor.
- Vanilla Extract: Adds a touch of warmth.
For the Fall Pie Crust Decorations
Use extra pie crust dough to create festive shapes like leaves, pumpkins, and acorns. Small autumn-themed cookie cutters work perfectly!
A little milk or egg wash brushed over the cutouts helps them bake up beautifully golden.
How to Make Mini Pumpkin Pies in a Muffin Tin
Making mini pumpkin pies is surprisingly easy! You get all the delicious flavor of a traditional pumpkin pie without worrying about rolling out a perfect full-size crust.
Step 1: Prepare the Pie Crust
Preheat your oven to 375°F and lightly grease a standard 12-cup muffin tin.
Roll out your pie crust dough on a lightly floured surface. Using a 4-inch round cookie cutter, cut out 12 circles.
Gently press each circle into a muffin cup, making sure the dough fits snugly against the bottom and sides. The crust should extend close to the top of each muffin cup.
Step 2: Make the Pumpkin Filling
In a medium mixing bowl, whisk together the pumpkin puree, maple syrup, eggs, milk, pumpkin pie spice, vanilla extract, and salt.
Continue whisking until the mixture is completely smooth and creamy.
Step 3: Fill and Bake
Spoon the pumpkin filling evenly into the prepared pie crusts, filling each about three-quarters full.
Bake for 25–30 minutes, or until the crust is golden brown and the pumpkin filling is set around the edges with just a slight jiggle in the center.
Allow the mini pies to cool in the muffin tin for about 20 minutes before carefully removing them. Transfer to a wire rack to finish cooling, then refrigerate until chilled.
Step 4: Make the Fall Pie Crust Decorations
While the pies are baking, roll out your remaining pie crust dough. Use mini leaf, pumpkin, or acorn cookie cutters to cut out festive shapes.
Place the shapes on a parchment-lined baking sheet and brush lightly with milk or egg wash.
Bake at 375°F for 8–12 minutes, or until lightly golden. Allow them to cool completely.
Tip: Bake the decorations separately instead of placing them on the pumpkin filling before baking. This keeps their shapes crisp and beautifully defined.
Step 5: Make the Maple Whipped Cream
In a chilled mixing bowl, combine the heavy whipping cream, maple syrup, and vanilla extract.
Using a hand mixer or stand mixer, whip the cream until medium-stiff peaks form.
Transfer the whipped cream to a piping bag fitted with a star tip, or simply use a spoon to add a generous dollop to each pie.
Step 6: Decorate and Serve
Once the pumpkin pies are completely cooled and chilled, top each with a swirl of maple whipped cream and one or two adorable fall-shaped pie crust decorations.
Serve chilled or slightly cool, and enjoy!
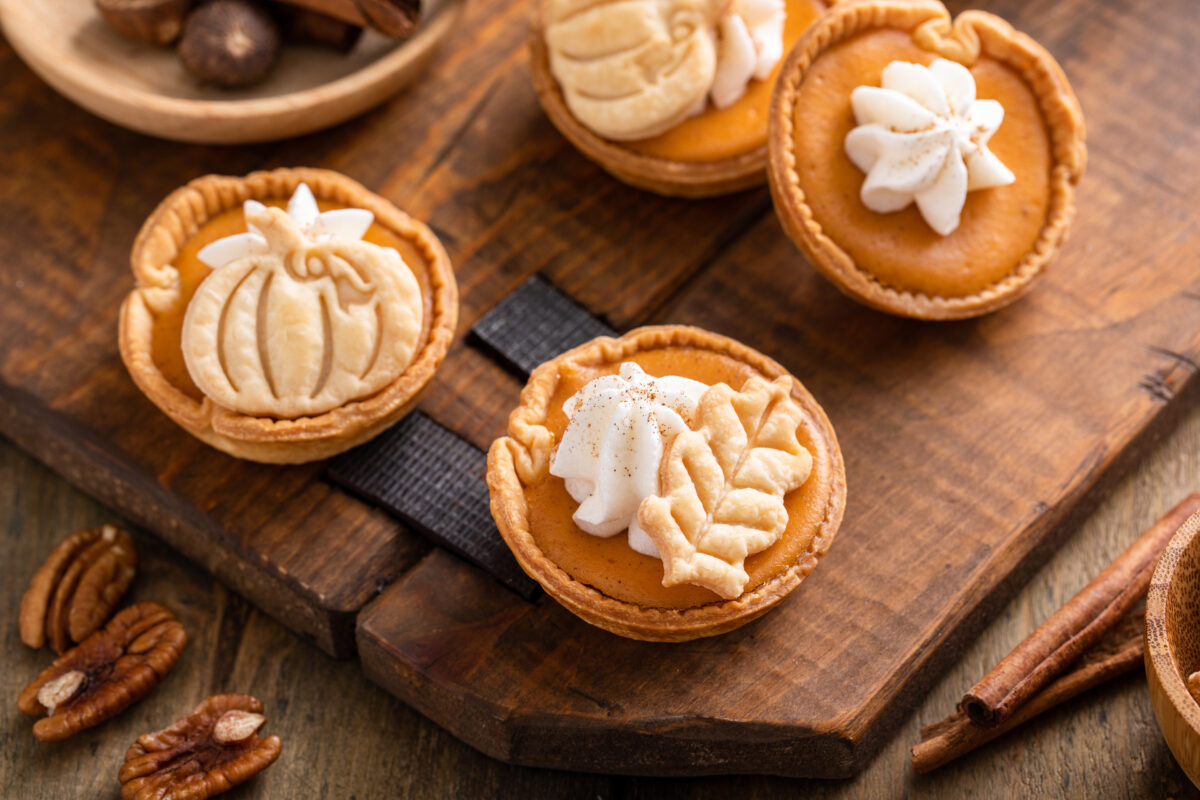
Tips for Perfect Mini Pumpkin Pies
These simple baking tips will help you create beautiful mini pies every time.
Don’t overfill the crusts. Pumpkin filling expands slightly as it bakes. Leave a little space at the top so the filling doesn’t overflow.
Use room-temperature ingredients. Room-temperature eggs and milk blend more easily into the pumpkin puree for a smoother filling.
Watch the baking time. Because these pies are smaller than a traditional pumpkin pie, they bake much faster. Start checking them around the 25-minute mark.
Let the pies cool completely. Pumpkin custard continues to set as it cools. Chilling the pies also makes them easier to remove from the muffin tin.
Keep the decorations separate. Add the baked pie crust shapes just before serving so they stay crisp.
Use a piping bag for a bakery-style finish. A star piping tip makes it easy to create beautiful swirls of maple whipped cream. But a simple spoonful tastes just as delicious!
Fun Variations and Substitutions
One of our favorite things about this mini pumpkin pie recipe is how easy it is to customize!
- Use homemade pie crust: If you love making your own crust, this is a great opportunity to use your favorite recipe.
- Make them gluten-free: Substitute your favorite gluten-free pie crust.
- Try a graham cracker crust: For a fun twist, use a homemade graham cracker crust pressed into the muffin cups. Follow the crust recipe’s recommended prebaking instructions.
- Add chocolate: Sprinkle a few mini chocolate chips over the pumpkin filling before baking.
- Switch up the decorations: Stars, hearts, or simple circles work just as well as fall-themed shapes.
- Add a little crunch: Sprinkle finely chopped toasted pecans over the whipped cream for an extra-special finish.
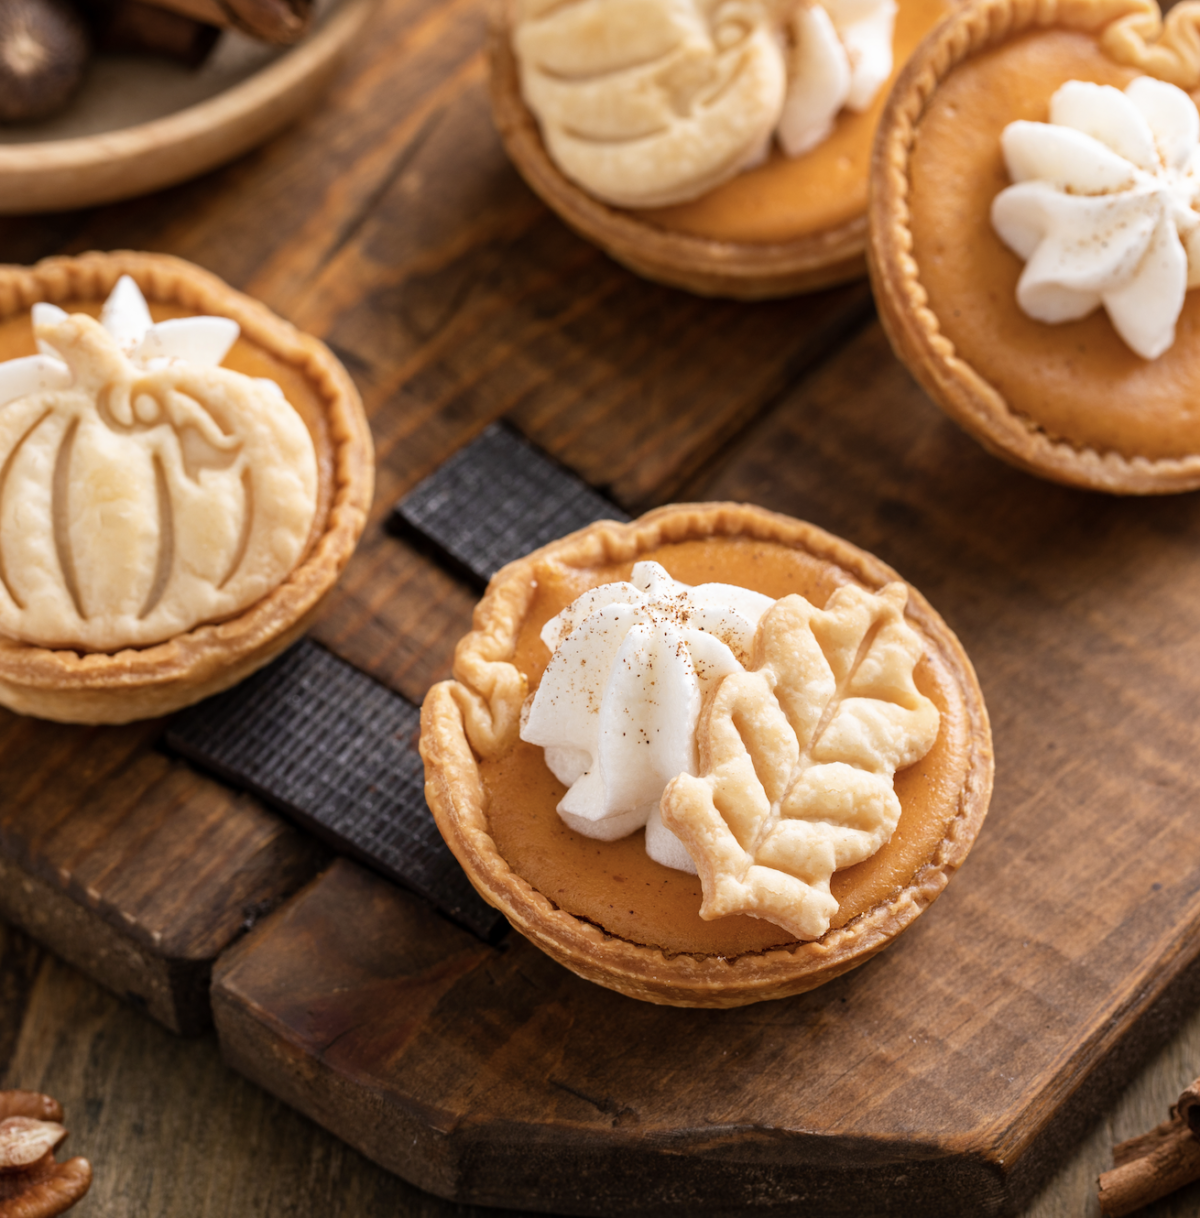
How to Store Mini Pumpkin Pies
These individual pumpkin pies are perfect for preparing ahead of time, making holiday entertaining a little easier.
Refrigerator: Store cooled mini pumpkin pies in an airtight container in the refrigerator for up to 3–4 days. For the best texture, store the whipped cream and pie crust decorations separately until ready to serve.
Freezer: Freeze the baked, completely cooled pies without whipped cream or decorations. Place them in a freezer-safe container, separating layers with parchment paper. Freeze for up to 2 months for best quality.
To thaw: Transfer frozen pies to the refrigerator overnight. Add fresh maple whipped cream and pie crust decorations just before serving.
Make-ahead tip: Bake the mini pies 1–2 days before Thanksgiving. Prepare the decorative cutouts in advance and keep them in an airtight container at room temperature. Whip the maple cream and assemble the pies shortly before serving.
Frequently Asked Questions
Can I make mini pumpkin pies in a regular muffin tin?
Absolutely! This recipe is designed for a standard 12-cup muffin tin. You don’t need special mini pie pans or tart molds. The muffin cups help the crust hold its shape while baking.
Can I use pumpkin pie filling instead of pumpkin puree?
For this recipe, use 100% pure pumpkin puree. Canned pumpkin pie filling already contains sweeteners and spices, which would change the flavor and sweetness of the recipe.
How do I keep mini pumpkin pies from sticking to the muffin tin?
Lightly grease your muffin tin before adding the pie crust. Allow the pies to cool before removing them, and use a thin spatula or butter knife to gently loosen the edges if necessary.
How do I know when mini pumpkin pies are done?
The crust should be lightly golden, and the pumpkin filling should be set around the edges with a slight jiggle in the center. Avoid baking until the centers are completely firm, since the custard continues to set as it cools.
Can I make the maple whipped cream ahead of time?
Yes! Homemade whipped cream is best served fresh, but you can prepare it a few hours ahead and refrigerate it in a covered container. Give it a gentle whisk if needed before piping.
Can kids help make these mini pumpkin pies?
Definitely! Kids can help mix the pumpkin filling, cut out pie crust shapes, and decorate the finished pies. Older kids can also help press the dough into the muffin tin. It’s a great Thanksgiving baking activity for the whole family.
More Pumpkin Recipes You’ll Love
If you love these mini pumpkin pies, here are a few more delicious pumpkin recipes to try this fall!
Easy Mini Pumpkin Pies with Maple Whipped Cream
Ingredients
- 3 9 inch refrigerated pie crusts or equivalent homemade pie dough (for shells and decorations)
- 1 15 ounce can pumpkin puree
- 1/2 cup pure maple syrup
- 2 large eggs
- 1/2 cup whole milk
- 1 1/2 tsp pumpkin pie spice
- 1 tsp vanilla extract
- 1/4 tsp salt
Maple Whipped Cream
- 1 cup cold heavy whipping cream
- 2 tsp pure maple syrup
- 1/2 tsp vanilla extract
- pinch of salt
Pie Crust Decorations
- Reserved pie crust dough
- 1 tbsp milk or 1 beaten egg for brushing
- Optional: cinnamon sugar for sprinkling
Instructions
-
Preheat the oven. Preheat oven to 375°F. Lightly grease a standard 12-cup muffin tin.
-
Prepare the crusts. Roll out the pie dough and cut twelve 4-inch circles, rerolling scraps as needed. Gently press each circle into a muffin cup, forming a small pie shell.
-
Mix the filling. In a medium bowl, whisk together pumpkin puree, maple syrup, eggs, milk, pumpkin pie spice, vanilla, and salt until smooth.
-
Fill the crusts. Divide the pumpkin filling evenly between the prepared pie shells, filling each about three-quarters full.
-
Bake. Bake for 25–30 minutes, until the crusts are lightly golden and the filling is nearly set with a slight jiggle in the center.
-
Cool. Allow the pies to cool in the muffin tin for approximately 20 minutes. Carefully remove and transfer to a wire rack. Refrigerate for at least 1 hour or until chilled.
-
Make the decorations. Roll out the remaining pie dough. Use small fall-shaped cookie cutters to create leaves, pumpkins, or acorns. Arrange on a parchment-lined baking sheet, brush with milk or egg wash, and sprinkle with cinnamon sugar if desired. Bake at 375°F for 8–12 minutes until golden. Cool completely.
-
Prepare the maple whipped cream. Using a hand mixer or stand mixer, whip the heavy cream, maple syrup, and vanilla until medium-stiff peaks form.
-
Decorate. Pipe or spoon maple whipped cream onto each chilled mini pumpkin pie. Top with a baked fall-shaped pie crust decoration.
-
Serve. Enjoy immediately, or refrigerate until ready to serve.
Notes
- Use 100% pure pumpkin puree, not canned pumpkin pie filling.
- Three pie crusts provide enough dough for the 12 shells and decorative cutouts.
- Keep the dough cold while working for the flakiest crust.
- Don’t overbake! Pumpkin custard should have a slight jiggle in the center when removed from the oven.
- For best results, add whipped cream and decorations just before serving.
- Store leftover pies in the refrigerator for up to 3–4 days.
www.superhealthykids.com
Disclaimer : This story is auto aggregated by a computer programme and has not been created or edited by DOWNTHENEWS. Publisher: superhealthykids.com